Dendroboard banner
41 - 60 of 346 Posts

· Registered
Joined
·
532 Posts
kyle1745 said:
I have a tank with the flora base but I think it is a bit too light for the frog tanks. It is also based on volcanic clay which I had thought someone mentioned broke down faster and had less nutrients than others. It is also rather expensive.

The soil I made, while a pain to make, seems to be working great. Its hard to say how either this or the above will hold up over time but so far I am liking the home made a bit better.

In my case price is a big deal as I have a number of tank that need refreshed. Interesting idea on the crushed shells for the calcium.

Are there cheaper options than the flora base? That may hold a little more weight so they do not stick to the frogs.
There probably are somewhere, I would have to ask... Edit that now I think of it. Soilmaster Select I believe is pretty much the same stuff but MUCH cheaper. You want soilmaster "Select" since it's been fired longer than the other stuff. Its also made for landscaping and things like that (golf courses etc,) so it should hold up better than florabase may. Its sold by Lesco. A write up about how someone used it in their fish tank can be seen here, http://www.plantedtank.net/articles/Soi ... strate/26/

I'm not sure about the weight I think they're all pretty light, but even if you used this as a base, and mixed it with some laterite or "redart" it should be an easier way to keep the soil more 'porus' and not get all hard and like a brick after a week.

As for the shells, its a pretty basic idea. Oyster shells are cheap, smash them or grind them up and its a much cheaper way than buying the sand, which is the exact same stuff just crushed up already by fish/ocean.

My question is this, Will the calcium in the substrate be too much and throw off an inbalance? Edd always talks about ratios to make sure its not too much ratio of like 15:10:5 or something like that.

And since adding calcium could you mix in a thing of herpative and repcal while you're at it? Just add it to your substrate mix and hopefully it can help some? It would "save" a lot of the vitamins that get thrown out all the time...

The other problem essentially I see is what are you putting in the soil? The way I think of it you would need substrate bugs, then leaf litter bugs eating the substrate bugs, if this could work it would be a very effective food chain if there was enough of each and not too many frogs..

I have an empty 45g that I'm planning on turning into a viv so maybe I'll try this out in that.

-Andrew
 

· Registered
Joined
·
19,344 Posts
The ratios I keep throwing out that apply here to some extent are calcium to phosphorus and you want those to be between 1 and 2 to 1 however if a variety of invertebrates are provided in conjuction with sufficient UVB exposure then the frogs will adjust thier own ratios.

You wouldn't need leaf litter bugs that are feeding on the soil invertebrates as the direct food source unless they themselves were soil invertebrates as this would disrupt the idea of the calcium and other minerals going from the soil invertebrates to the frogs. The soil stuck to the invertebrates can be as important as the soil in the invertebrates.

An occasional (and I mean occasional) sprinkling of a vitamin supplement is probably not going to do any harm other than feed the soil bacteria. Invertebrates are a poor source of vitamins and unless you can specifically supplement them under tightly controlled conditions you are not going to be able to adjust the vitamin supplements in them. However I would not recommend adding it in a big sudden slug to the terrarium as this would cause all kinds of unwanted and possibly pathnogenic bacterial growth.


Ed
 

· Registered
Joined
·
532 Posts
Ed said:
The ratios I keep throwing out that apply here to some extent are calcium to phosphorus and you want those to be between 1 and 2 to 1 however if a variety of invertebrates are provided in conjuction with sufficient UVB exposure then the frogs will adjust thier own ratios.


Ed
Thanks for clearing that up, I believe I was mixing up NKP opposed to Calcium and Phosphorus now that I think about it. With UVB they can adjust their own ratios, that would mean getting a UVB bulb like reptile keepers use?

My other question is how apt a frog to go eating soil bugs? Wouldn't they need to dig for them? I know some frogs dig a lot, but most don't dig much I was under the assumption.

-Andrew
 

· Registered
Joined
·
98 Posts
We just returned from a 300 mile collection and research trip in the temperate rain forests of the Pacific Northwest. We spend just about every other weekend in the deep forest streams of the coastal valley and have found one area to be the most fascinating when it comes to clay and clay based soils. We have been working with this specific site for the past 5 years and found a good portion of its use very beneficial in our tanks and indoor gardening.
I will include some photos and give a a brief description of each one as we go. We feel certain clays work wonderful in addition to making good invertebrate friendly soils, but is is not going to be for everyone. What works well for one might not work for others. This project has taken 4 years of test and trial in our 3000 watt indoor garden facility. We introduced it into our tanks last year and so far it looks very promising. This is not a miracle soil or top secret mix, but just some notes on how working with your surrounding's can be more beneficial than a store bought product. Just remember that caution must taken when collecting from the outdoors. You must know what the surroundings have gone through in case of chemical usage in the area.


In this photo directly in the water you can see two types of clay, there are actually three but I will only focus on two. The large and small chunks of clay have been submerged for over a week in this part of the stream and when picked up they are still fairly hard.


This photo is the dark, more sandy clay. It dissolved the fastest when held under the water. When dried and mixed in with our soil, we have had good plant growth.


This clay is the same on the bank and in the water. Under running water it holds up really well. When dried, it gives the soil good texture and feel. The plants and mosses in our tanks love this clay.


This photo to us is the most important. It is what we have been using as a growing and bottom substrate in our tanks and has not shown any signs of breaking down. Some of the smaller pea sizes will break down, but anything larger holds its own when completely submerged for very long periods of time (years). These clay pieces were actually dried clay rocks that had to be smashed with a large rock to break into smaller chunks.

I will start from left to right.


(far left)
This is a clay based mineral stone with everything nature could throw in. We have mixed this in the soil of every plant and tank we own.


(center)
This is more of a clay based stone with a lot less things mixed in.
We use this type as a bottom substrate with soil mix on top.


(right)
Same as above but lighter in color. It too is used as a bottom substrate layer.


And finally the main part of what we use as a soil before it is mixed with other ingredients.


This is just some food for thought about clay and its uses.
 

· Registered
Joined
·
19,344 Posts
a hill said:
Thanks for clearing that up, I believe I was mixing up NKP opposed to Calcium and Phosphorus now that I think about it. With UVB they can adjust their own ratios, that would mean getting a UVB bulb like reptile keepers use?

My other question is how apt a frog to go eating soil bugs? Wouldn't they need to dig for them? I know some frogs dig a lot, but most don't dig much I was under the assumption.
Yes it means getting a UVB producing bulb with all of the limitations that come with the bulb or continuing to supplement with a vitamin-mineral mix to insure that the frogs have adequate D3.

The invertebrates come to the surface and the frogs then feed on them. If the invertebrates are on the calcium containing soil then when they capture the invertebrates they also get soil with the invert (in addition to what is in/on the invert).

Ed
 

· Registered
Joined
·
532 Posts
Thanks Ed,

One more silly question. Would doing one thing or another only work? I would assume it's fine to have calcium rich substrate then also dust flies and feed them?

UVB bulbs get hot, but not much difference from lights commonly used. (not T5s though...)

-Andrew
 

· Registered
Joined
·
19,344 Posts
There is an acceptable limit to the amount of calcium in the diet. It actually has one of the narrowest tolerances for a required macronutrient. In excess it causes conditional nutritional deficiencies in other micronutrients like zinc but in this application, you are feeding out a invertebrate (the ffs or crickets) that has a terrible calcium to phosphorus ratio so these insects should be dusted. This is also a significant method to get the D3 into the frogs. The soil invertebrates are also deficient in calcium as the soil in/on/around them is the source of the calcium and the frog has the option to modify its diet to support it Ca metabolic needs so the likelyhood of over supplementation is minimal (particuarly if you include the rate at which the flies groom the flies off).

Often its better to utilize the UVB as a back up source of calcium than the main source due to the issues with fall off production of UVB over time as well the problems with intensity falling off with distance.


I just spent 15 hours at work so I may not be the most coherent.

Ed
 

· Registered
Joined
·
1,915 Posts
My goodness. I take a brief hiatus and find 4 pages of dirty talk. Oh happy day! This is a great thread with a lot of good info. A lot of things have already been covered but I'll try to address some of the benefits of clay as I see them.

These basically fall under the categories of aesthetics, longevity, and nutrient dynamics. First, red soils look cool and that's all there is to it. As was mentioned, not all tropical soils are red but red soils are kind of a trademark look of the tropics.

Second, longevity. Mineral based soils will last for thousands of years. Their texture gets better with age, not worse. No organic based substrate will do that. Even huge chunks of fairly rot resistant wood will break down in a warm, wet, viv after a few years. I like my vivs to last decades so organic substrates are out.

Finally are nutrient dynamics. Any substrate can be supplemented with calcium etc. but clays tend to bind a release nutrients nicely so they make a good storage and delivery system that provides consistent nutrient availability. Organic substrates, again, break down and become depleted of nutrients over time. Clays get depleted too but they have the ability to be recharged.

I've got a lot more to say but it is late so it will have to wait.
 

· Registered
Joined
·
532 Posts
Found this in the beginner section...

slaytonp said:
Most of us don't use UV bulbs with darts due to the fact that the glass enclosed tops filter it out and they are difficult to use safely inside a humid vivarium. There are some acrylics that do allow UV to pass through, but I've never tried them.
Has anyone using a UVB bulb modified their glass top because of it?

Also... Another thing I've thought of, if somehow you could make a small pool in one spot of the viv with this substrate, it could be like a high calcium bath that you wouldn't have to give them just in case.. so theoretically they would like go into it if they needed more calcium... How smart these frogs are I'm not sure. But with what Ed has said about some behaviors they may be smarter than I think.

-Andrew
 

· Registered
Joined
·
19,344 Posts
a hill said:
Found this in the beginner section...

as anyone using a UVB bulb modified their glass top because of it?

Also... Another thing I've thought of, if somehow you could make a small pool in one spot of the viv with this substrate, it could be like a high calcium bath that you wouldn't have to give them just in case.. so theoretically they would like go into it if they needed more calcium... How smart these frogs are I'm not sure. But with what Ed has said about some behaviors they may be smarter than I think.

-Andrew
Yes people have modified thier enclosures to allow for the use of UVB lighting. Do a search for solacryl.

The problem is having small patches of calcium rich substrate just isn't going to cut it as this is not going to supply sufficient inverts that are modifeid by the substrate.

It doesn't have to have anything to do with being smart, for example in people you can have a craving for a certain food item which will meet some micronutrient deficiency and not have the wanting part of the craving be under conscious control.....

Ed
 

· Registered
Joined
·
532 Posts
Ed said:
Yes people have modified thier enclosures to allow for the use of UVB lighting. Do a search for solacryl.

The problem is having small patches of calcium rich substrate just isn't going to cut it as this is not going to supply sufficient inverts that are modifeid by the substrate.

It doesn't have to have anything to do with being smart, for example in people you can have a craving for a certain food item which will meet some micronutrient deficiency and not have the wanting part of the craving be under conscious control.....

Ed
Thanks I'll do a search.

I may have written it wrong, same substrate high in calcium, but have say a small "pool" of water in part of it which should be high in calcium since the substrate is in general.

I used the wrong choice of words, that is exactly what I was thinking. So I assume its generally the same in animals?

-Andrew
 

· Registered
Joined
·
19,344 Posts
I may have missed it since I was getting a light sensitive headache and it was getting hard to read.

The clays tend to bind up the calcium unless you exchange it with another ion to allow it to be released. This is how the ammonia absorbers that are packaged into the carbon mixtures for fish tanks work (zeolites). Depending on the clay, the calcium may not be readily available in the pool of water as it is bound in the clay, and in those substrates in which it is readily released, they are going to bind up some other cation and could potentially make the pH of the water fairly basic. (and if you add items like tanning to deal with pH you are going to decrease the solubility of the calcium in the water column.

Absorbtion of calcium cutaneously required the expediture of metabolic energy as there isn't a calorie source being ingested at the same time. I would also suspect that while the frogs can modify thier diets via the nutritonal content of the food items, I am would not be surprised if they are unable to detect calcium concentration to absorb through thier skin....

Ed
 

· Registered
Joined
·
290 Posts
soil recipe part 1

As promised (although late) here is my soil recipe(s). These are not yet thoroughly tested so please use at your own risk.

Right now I have 2 methods for getting soil into my tanks. The first method involves getting local soil and changing it both by amending it and by applying physical processes.
The IAD display tank and the Lorenzo tinctorius tank I set up last night were made this way.

The IAD tank and the Lorenzo had their soil made in the same way but were set up differently.
The main soils for each of these tanks was composed by starting with local soil, preferably of high clay/silt content and low sand content (this may be difficult for some of you to obtain depending on your location). For the IAD tank I started with a red/orange clay from Staten Island (not sure of the soil type), for the Lorenzo tank I started with soil from my Garden in Ithaca (grayish glacial till soil). It is a composed of Loess (a combination of silt/clay). For both soils I pushed them through a 2 mm screen, it is actually a screen lid from a fish tank (not the fine mesh, the next size up). This is best done when the soil still has moisture but is not wet or really dry. The soil should crumble in your hand when you apply force to it, not deform, and not crack and get powdery. You should form little aggregates in your hand (to me one of the sexiest states a soil can be in).

After I did this I discarded all of the rocks, roots, and gravel that did not pass through the sieve. I then mixed in some iron oxides (lets say ~1 TBSP per quart/liter of soil). For the Lorenzo tank I used black iron oxide, for the IAD tank I used red and yellow iron oxides.
Then I sprayed the soil down enough just enough to get it to clump up again. The oxides should be “activated” by the water and get more intense in color and wet/sticky. Mix around the soil until it is uniform. Do it gently, it doesn’t have to be completely homogeneous. Let it sit out and dry until it is crumbly again as mentioned above. Pass this soil through the sieve again. You now have a local soil augmented with iron oxides.
From here on I will describe what I did for each tank separately:

The IAD tank has a soil layer 6.5 cm (2.5 inches) thick. The tank has a false bottom made of eggcrate panel, covered by 7-mesh, then by fine nylon screen, and finally a layer of brown paper towels (which I am sure has rotted out by now). The paper towels prevent the soil from washing through the screen before it has had a chance to settle and develop some structure. The first layer over the towels was a layer of reddish sand (any sand will do) ~1 cm thick. This was then covered by a layer of the soil made earlier, 5.5 cm thick. It was just poured in and moved around lightly with out any hard packing. I put in the plants (mostly just roots and whatever soil they held from the original pot), wood pieces, and logs. I covered the soil with crushed up oak leaves, and then slowly wet the soil by spraying it with a spray bottle. It takes a while but is necessary to wet the soil without causing it to break (similar to gentle rain). The oak leaf pieces protect the soil from the impact of the water and facilitate its infiltration. I add enough water until the false bottom has about 5-10 mm of water in it.
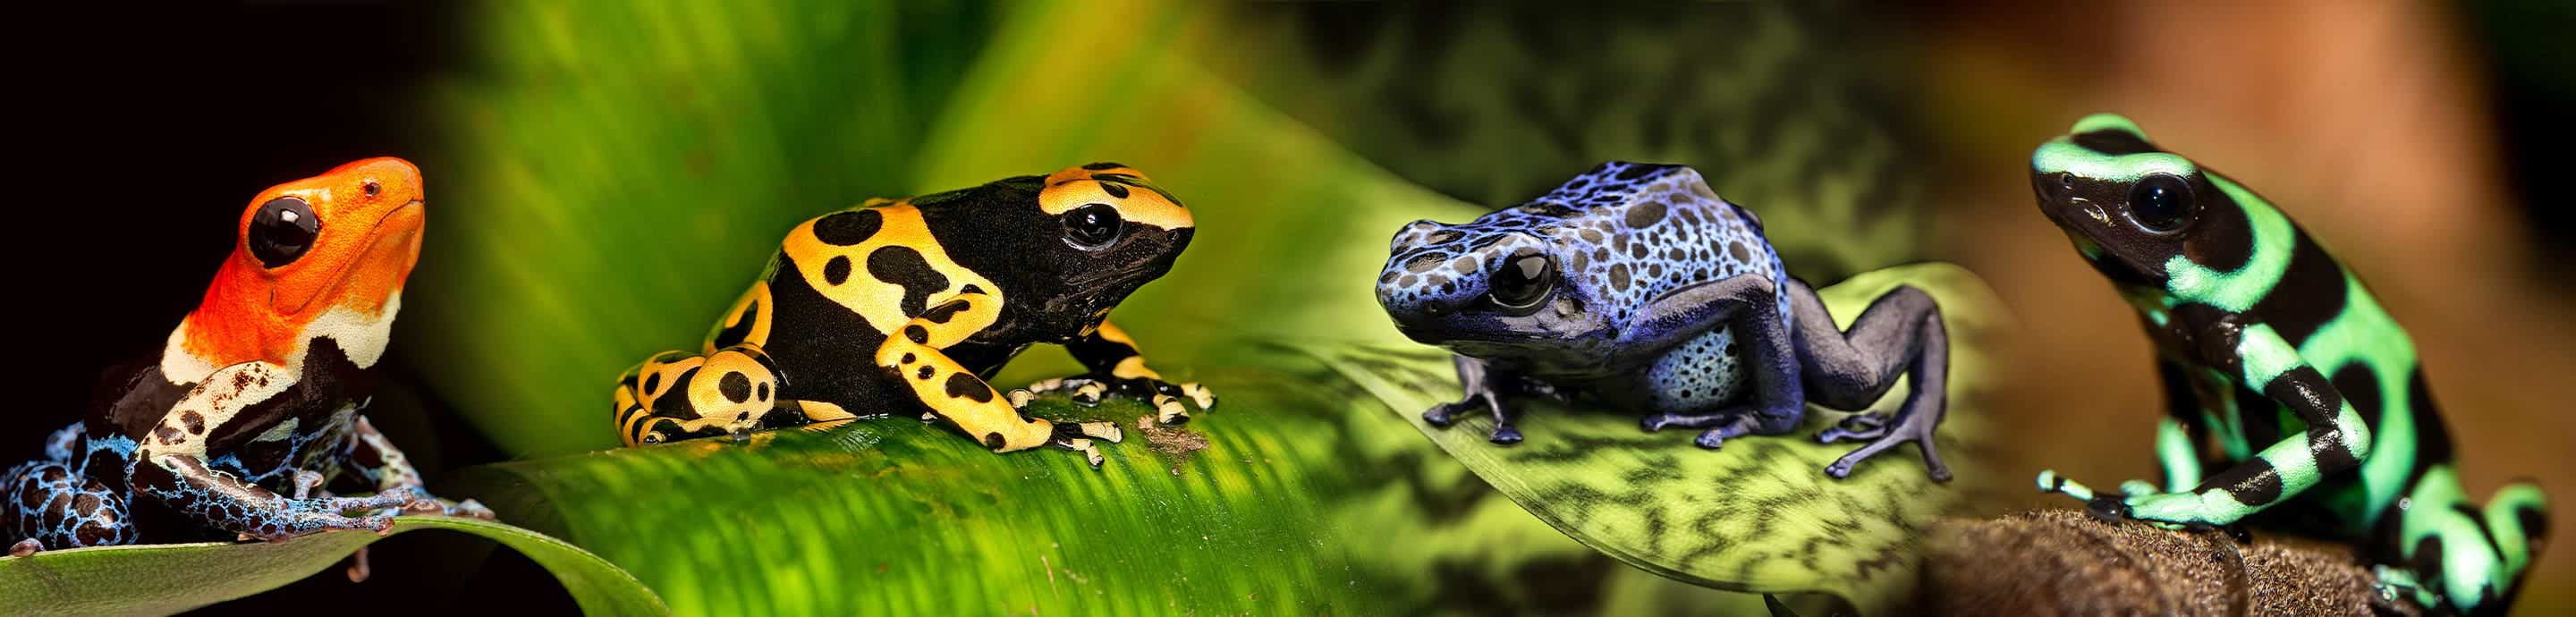
I added 6 neonate canal zone auratus froglets to his tank 2 months after its creation and seeding with springtails. I routinely add kitchen scraps (veggie pieces) and never feed it with flies. The frogs reached full size in less than 3 months! I am not sure if it is due to the arthropod fauna, soil, or both.

The Lorenzo tank is 10 gallons (standard). The soil is 3.6 cm thick composed of 3 layers. The first layer (over the paper towel) is a layer of perlite that was crushed and passed through a 2 mm mesh and then mixed with some soil and iron oxide (1.2 cm thick). The second layer is a mix of 50% augmented soil and 50% ironed perlite (1.2 cm thick) the last layer is just the iron augmented soil (1.2 cm thick). I then covered it with leaves and logs and watered it as mentioned above. This time I also added Styrofoam packing peanuts under the false bottom to act as a surface for biofilm formation to aid in nutrient cycling.
The Lorenzo pair laid eggs within 24 hours of being in this tank!

http://www.frognet.org/gallery/album41

any questions or anything I left out?

The second method is to fabricate a soil from pure ingredients from a pottery company. I have made some soil this way but have yet to “put it to the test” in a tank. Worthy of note though is that the IAD tank did contain a small amount of soil made this way and it looks indistinguishable from the amended soil even after almost 5 months. (will write more on this in the next post)
 

· Registered
Joined
·
124 Posts
I have been waiting since MWFF to hear this, and you leave me hanging! :roll: My area is not conducive to the first recipe, so I will be eagerly awaiting the second. Thanks, Matt
 

· Registered
Joined
·
5,536 Posts
It amuses me every time you call a soil sexy :lol: But then again, who am I to talk? I was the one taking the soil pics in the southwest when you were the one driving the car :roll: Yeah I'm just a little bit nuts too... and omg I want a cutting of that Maranta! I've been looking for the green form of the red prayer plant since I saw it at ABG!!

So... on to the questions. For the lorenzo tank, why the perlite? (This is often spouted to be a froggy no-no, so explain to all who seek your dirty guideness!). Second (long winded) question... in your first tank you mentioned (on DB or FrogNet I don't remember) about how when transporting your tank back from IAD, some water sloshed, and created these pockets in the soil that have become soil critter refugiums. Did you try and create anything like this in the lorenzo tank? Is it worth trying to replicate? I was somewhat tempted to add a layer of EpiWeb to the substrate for this reason, but eventually it would probably get closed off from the surface so I dunno.

I now live on a sand bar, so I need to figure out what to do about the soils.

What is recipe number 2? So mean to tease the DBers like that ;)
 

· Registered
Joined
·
290 Posts
The perlite is just meant as a way to keep the weight down but still have the soil deep enough for plants to root decently. If weight was not an issue I would just have a 6 inch soil layer in all my tanks! The perlite is under a layer of soil so it should be avoiding frog contact so they can't ingest it.

The soil in the lorenzo tank did not turn out as deep as I would have liked and the clay aggregates are not staying together as good as I had hoped. Those small tunnels and refugia would best be formed in a soil only tank. Also adding more clay content to my lorenzo soil mix may help (since it is mostly silt).

recipe number 2 coming soon

Matt
 

· Registered
Joined
·
290 Posts
Recipe 2

sorry for the delay. I had the recipe in my Lab (where I make the soil) and kept forgetting to bring it home where I write my frog emails.

This soil recipe makes soils from "scratch," all ingredients you can get from a grocery store and local pottery supply.

here is the general recipe in grams of ingredients and percentages:

kaolinite (EPK) 1100 [58%]
Bentonite (kitty litter) 550 [29%]
Fe Oxide red 70 [4%]
Fe Oxide Yellow 70 [4%]
Al oxide 60 [3%]
sugar 9 [.5%]
cornstarch 9 [.5%]
gelatin 10 [.25%]
soy protein 10 [.25%]
CaCO3 20 [1%]

This recipe is just based on the soil composition from my study site in Panama. Other recipes will work, that mimic other soils.

Mix it all together with enough water boiling water to make it like yogurt. Mix very well (egg beater, potato masher, etc) Heat it up in the oven to lightly boiling/bubbling
(be careful it bubbles ans it burns when one pops and lands on you)
you will have a soil type smell in your kitchen from this
mix it up one more time, allow to cool, then allow it to dry.

It should be dry enough to crumble apart with some force but not hard enough to to require a hammer or make dust.

Pass it through a fine screen (usual reptile screen ~1 mm).
Take your soil and put it in a container so you can compact it again (yes I know this seems redundant)
At this point you are now compacting all the small pieces into larger pieces that are loosely bound together. You can use a lot of force, like your foot or your body.
Take the soil out and it should still com apart fairly easily (if your soil was too wet when you started it may just be a big clay lump at this point)
break it apart again and pass it through a larger screen ~2-3 mm.

These small soil balls should now be ready for a frog tank. For variety you could skip the fine screen for some of the soil and just go to the large screen. It would just give you larger tight clay aggregates (harder for roots to penetrate, but still hold water and nutrients at their surface)

any questions?

Matthew Mirabello
Ithaca, NY

Edit - ingredient added to recipe - Oz 1/6/08
 
41 - 60 of 346 Posts
This is an older thread, you may not receive a response, and could be reviving an old thread. Please consider creating a new thread.
Top