
hi all,
In this hill stream paludarium thread I mentioned that I find the concept good, but the execution can be taken further (especially larger!), to create more different pieces of stream, enabling the keeping of more ´normal´ fish species like tetras. I also want to create walls that are less vertical and more like a slope (at least at some places).
At the same time my wife and I discussed the fact that we could do with some more space in the living room, where this paludarium is situated. And as another room in the house became available (due to change of work), the decision was made to replace the two existing tanks with a large one in a dedicated room.
Here is a Sketchup picture of the room with the new viv.
![Image]()
Dimensions of the viv will be 215cm at the left end, 280cm at the other side and an inner height of 135cm. The depth is 95cm at the left side and 70cm at the
right side. The two ´legs´ are positioned at a bit more than a 100 degrees towards each other.
To get a better idea what I wanted I did a lot of sketching, like this one:
![Image]()
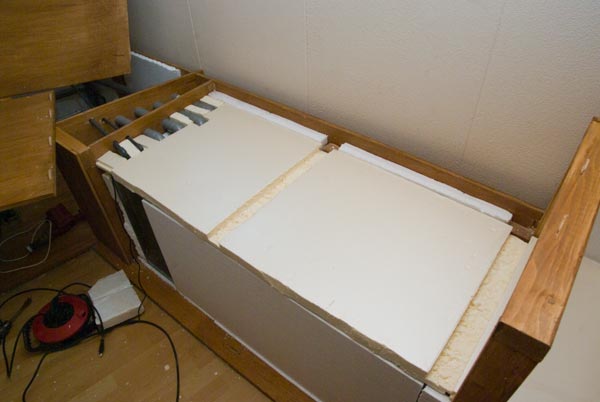
In the final design the room under the tank is used and covered by some sheets of plywood.
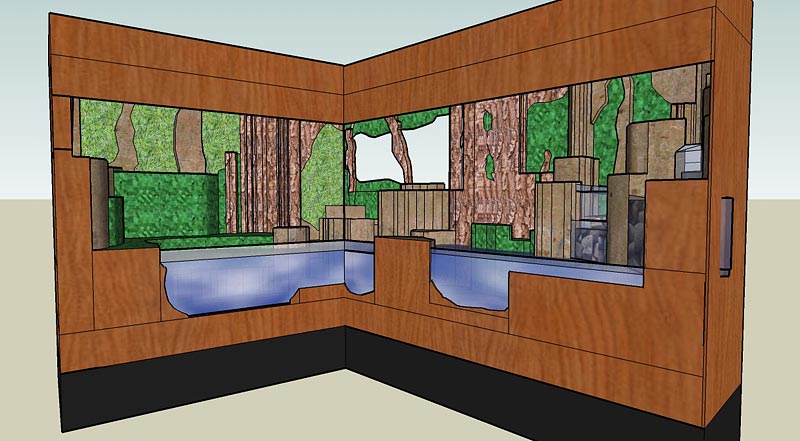
Artist´s impression of the tank; I use the back window to create some depth (the window faces North, so the light will be rather diffuse)
![Image]()
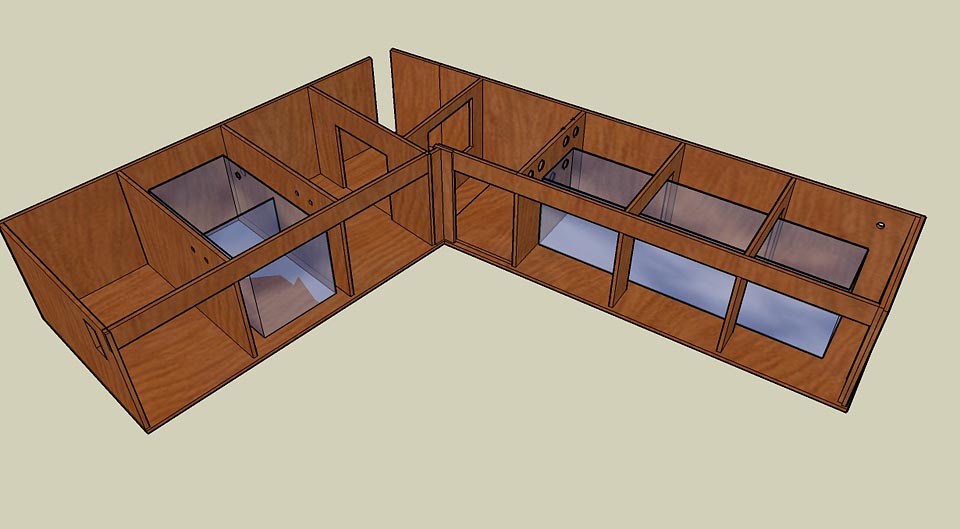
Beneath the actual tank there is room for making RO water (to be mixed with a bit of tap water), automatic water refreshing and a large (160x50x50cm) tank in which four large pond pumps will be placed, that are essential for making a hill stream tank.
![Image]()
--------------------------------------------------------------------------
September last year I started the constructional work (which I plan to end at about June this year). The material used is a good 18mm plywood, which will be
covered with epoxy and glassfiber mats.
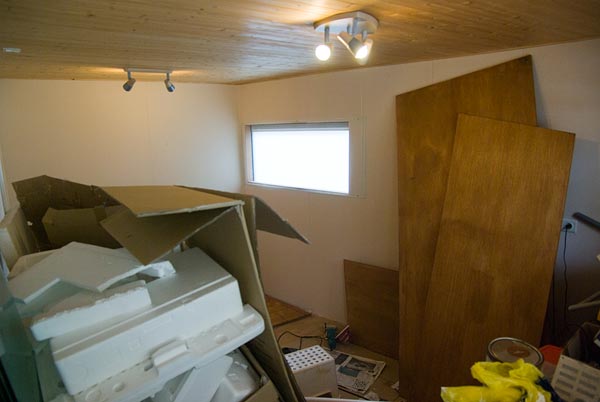
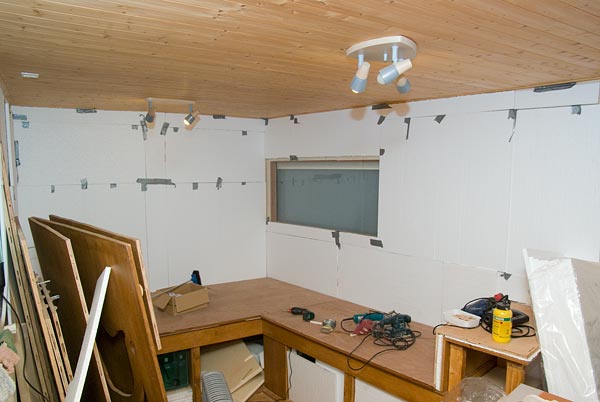
The best start of course is to have an empty room...
![Image]()
(Before this I painted the wall with some moisture resistant coating.)
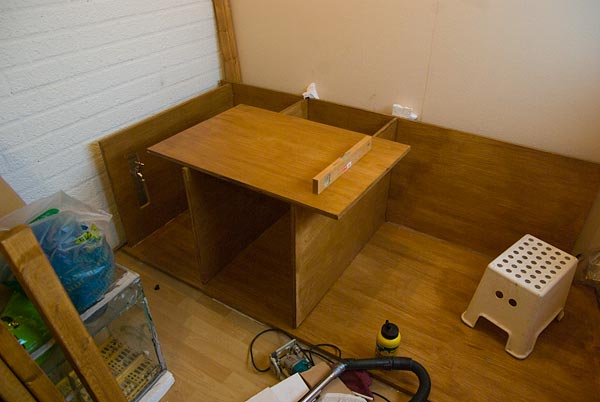
I glue the plywood pieces with Poly-urethane glue (don´t know the English equivalent) - even if I wanted, there would have been no space to work with screws.
![Image]()
Part of the automatic refreshing system: a small pump, pumping water to the drain regularely, which will be replaced by a 3:1 RO - tap water mix from the
reservoirs.
![Image]()
The tank through which the water will flow back to the large pumps. There is a biological filter inside, like used for large fish tanks.
![Image]()
Where the water will flow back to the pumps:
![Image]()
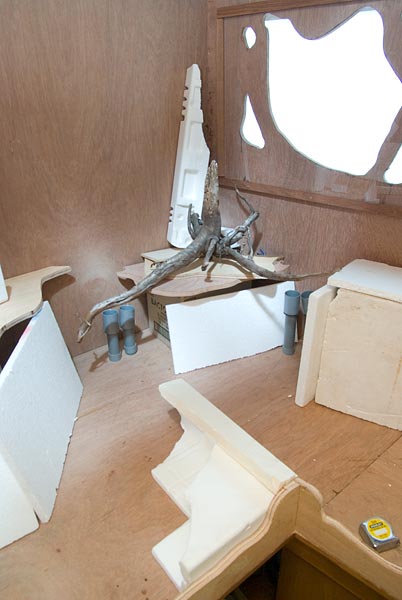
Packed in foam, to avoid loss of warmth (by the way, the pumps will act as heaters):
![Image]()
The right part is higher as part of the ´hill´ and to enable access to the pumps in the tank:
![Image]()
--------------------------------------------------------------------------
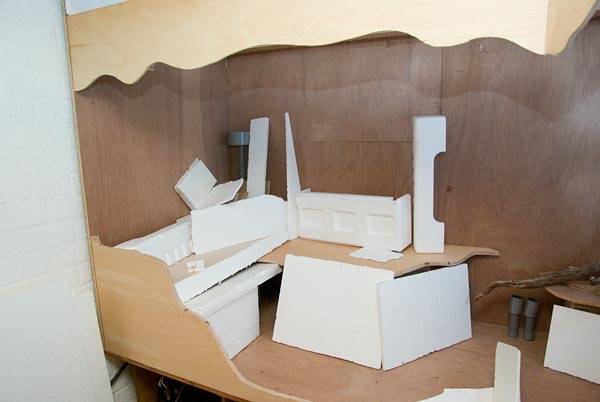
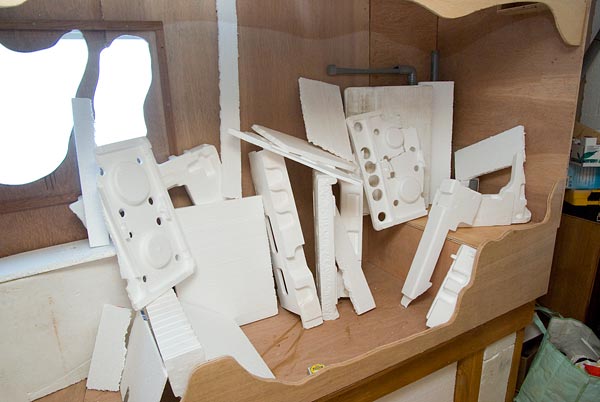
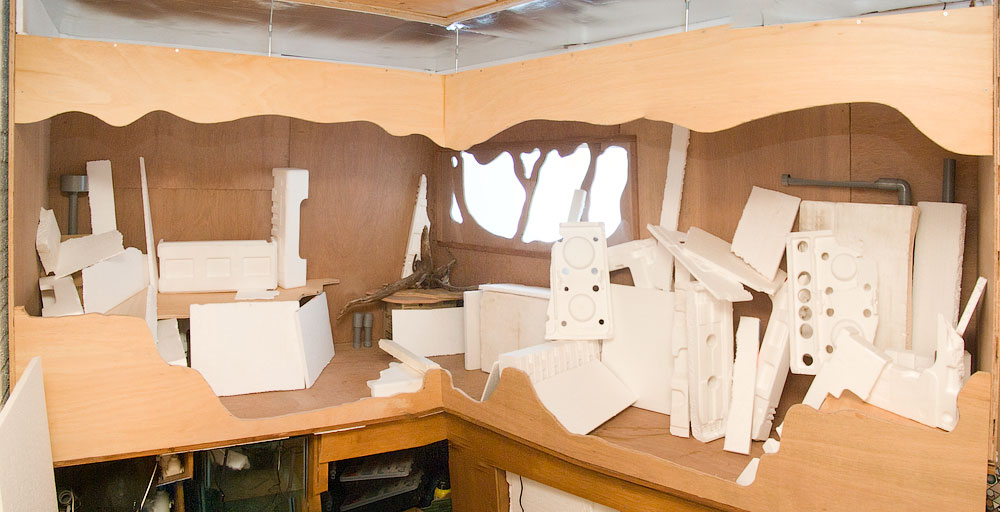
The walls behind the tank are covered with styropar sheets for insulation:
![Image]()
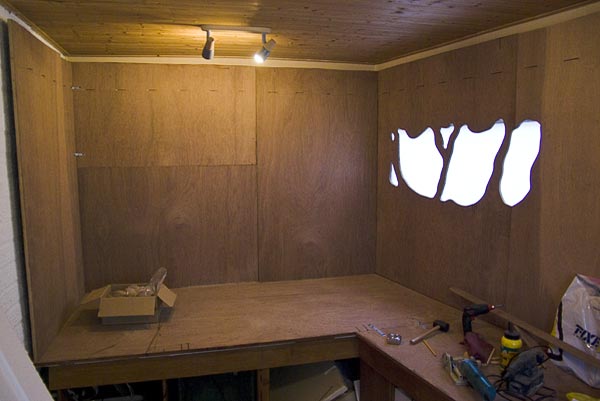
The standing plywood back:
![Image]()
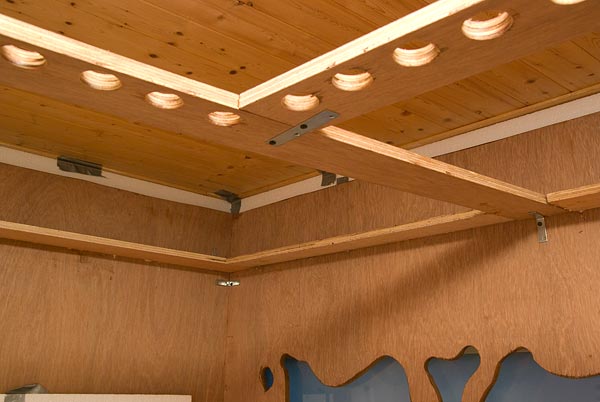
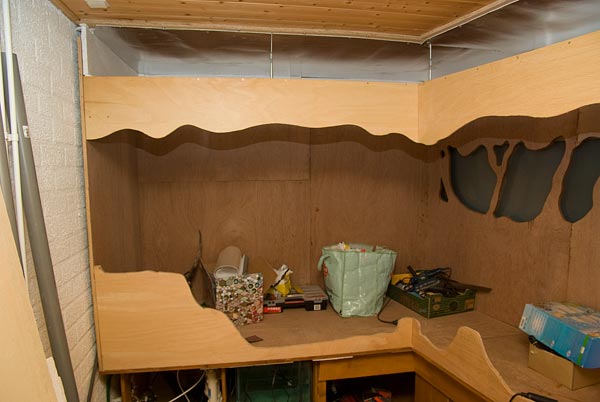
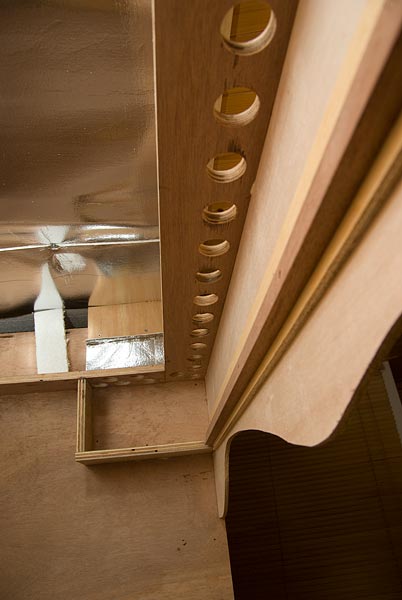
Dividing the part for the lights and ventilators (the holes are 40mm in diameter and will be covered with wire mesh)
![Image]()
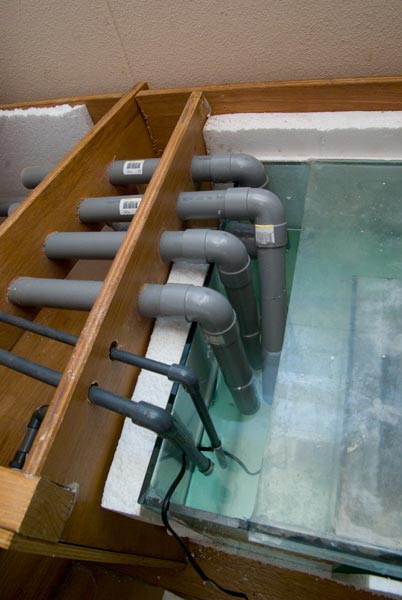
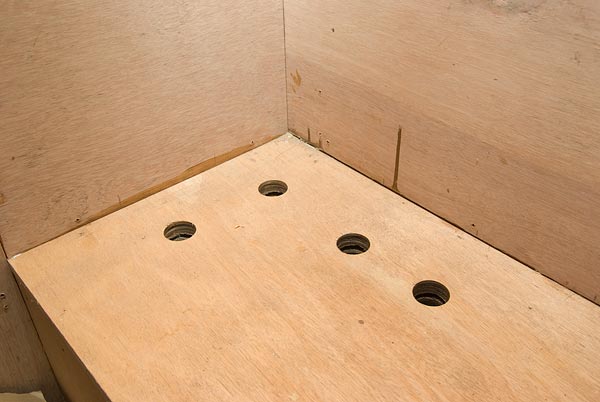
A lot of holes for the pipes (here the ones that will bring the water back from the pumps into the tank):
![Image]()
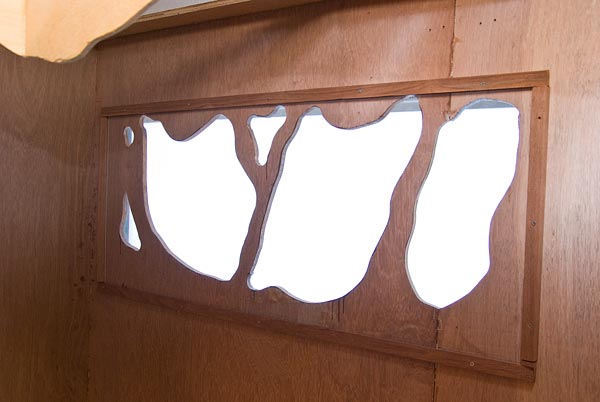
I sawed the pieces of plywood behind which the glass windows will be placed (45cm high and then sliding ones on top).
![Image]()
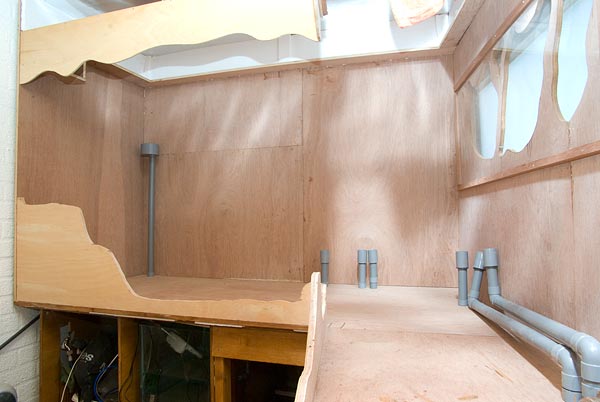
Inside, below the lights (the boxes at the end are to place some ventilators for circulation inside the tank):
![Image]()
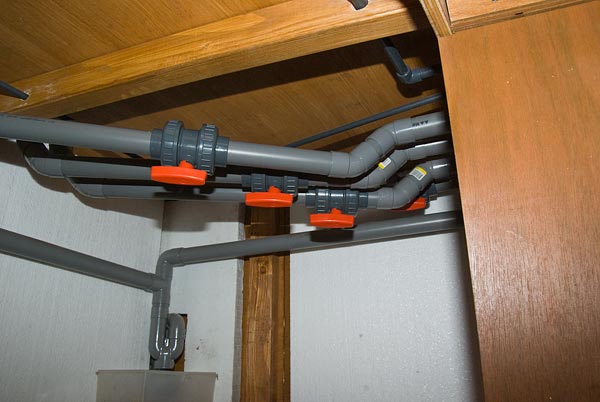
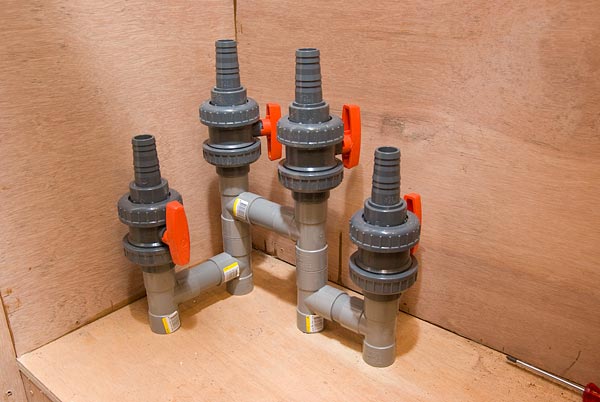
Between the pumps and the tank I place some taps to regulate the amount of water flowing through each pipe. In the picture they stand above the floor, but once glued they will hang under the tank. Pipes are 40mm in diameter. The total pump capacity is 19000 liters an hour (5000 US gallons), although some is lost because of the height to which the water is pumped.
![Image]()
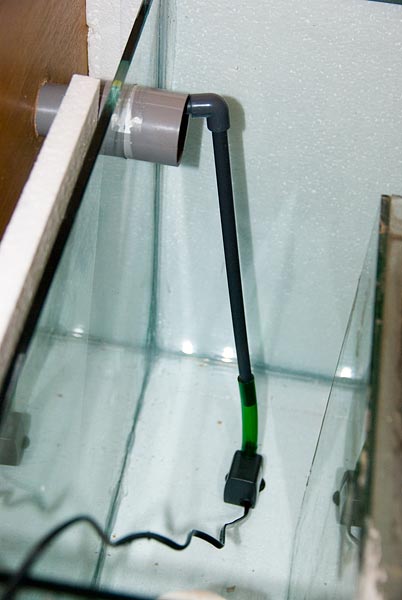
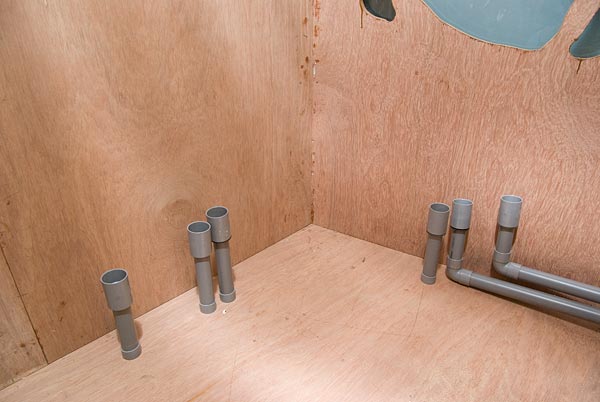
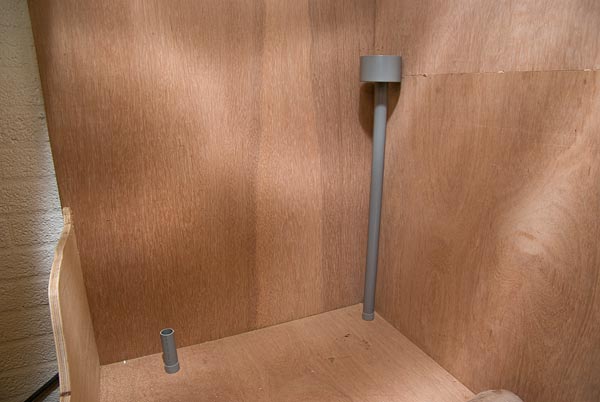
At these points in the rear end of the tank, the water will flow back to the reservoir under the tank:
![Image]()
In the left side there is another pump under the tank for a waterfall at that side:
![Image]()
I hope the pictures help you to understand what I am doing - I feel my technical English is lacking a bit...
Questions, suggestions and criticism is very much appreciated. Some way this is quite an adventure as there are so few examples of this type of tank building (I fortunate enough to get the help of the man behind this tank, Hans Pietersma).
Any input is welcome!
In this hill stream paludarium thread I mentioned that I find the concept good, but the execution can be taken further (especially larger!), to create more different pieces of stream, enabling the keeping of more ´normal´ fish species like tetras. I also want to create walls that are less vertical and more like a slope (at least at some places).
At the same time my wife and I discussed the fact that we could do with some more space in the living room, where this paludarium is situated. And as another room in the house became available (due to change of work), the decision was made to replace the two existing tanks with a large one in a dedicated room.
Here is a Sketchup picture of the room with the new viv.
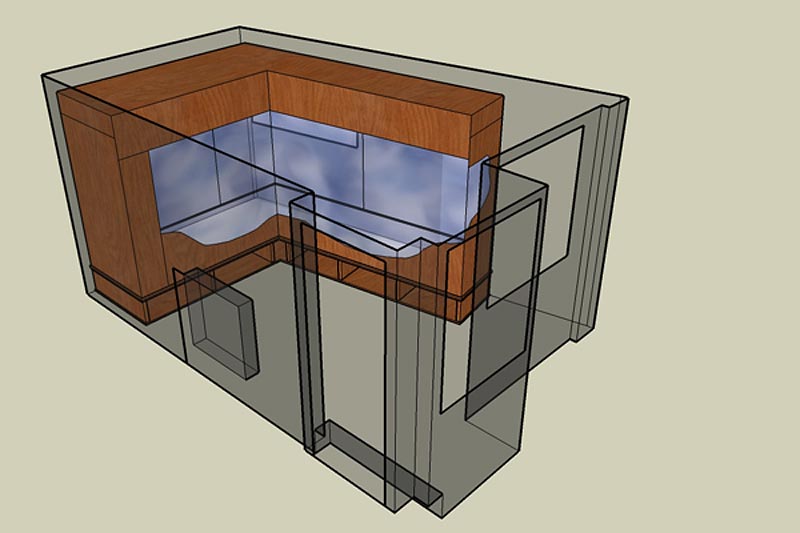
Dimensions of the viv will be 215cm at the left end, 280cm at the other side and an inner height of 135cm. The depth is 95cm at the left side and 70cm at the
right side. The two ´legs´ are positioned at a bit more than a 100 degrees towards each other.
To get a better idea what I wanted I did a lot of sketching, like this one:
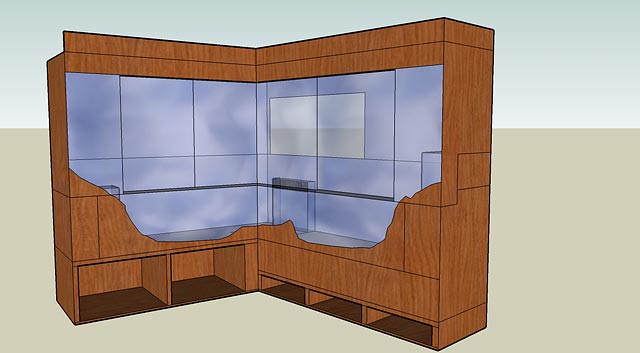
In the final design the room under the tank is used and covered by some sheets of plywood.
Artist´s impression of the tank; I use the back window to create some depth (the window faces North, so the light will be rather diffuse)
Beneath the actual tank there is room for making RO water (to be mixed with a bit of tap water), automatic water refreshing and a large (160x50x50cm) tank in which four large pond pumps will be placed, that are essential for making a hill stream tank.
--------------------------------------------------------------------------
September last year I started the constructional work (which I plan to end at about June this year). The material used is a good 18mm plywood, which will be
covered with epoxy and glassfiber mats.
The best start of course is to have an empty room...
(Before this I painted the wall with some moisture resistant coating.)
I glue the plywood pieces with Poly-urethane glue (don´t know the English equivalent) - even if I wanted, there would have been no space to work with screws.
Part of the automatic refreshing system: a small pump, pumping water to the drain regularely, which will be replaced by a 3:1 RO - tap water mix from the
reservoirs.
The tank through which the water will flow back to the large pumps. There is a biological filter inside, like used for large fish tanks.

Where the water will flow back to the pumps:
Packed in foam, to avoid loss of warmth (by the way, the pumps will act as heaters):
The right part is higher as part of the ´hill´ and to enable access to the pumps in the tank:
--------------------------------------------------------------------------
The walls behind the tank are covered with styropar sheets for insulation:
The standing plywood back:
Dividing the part for the lights and ventilators (the holes are 40mm in diameter and will be covered with wire mesh)
A lot of holes for the pipes (here the ones that will bring the water back from the pumps into the tank):
I sawed the pieces of plywood behind which the glass windows will be placed (45cm high and then sliding ones on top).
Inside, below the lights (the boxes at the end are to place some ventilators for circulation inside the tank):
Between the pumps and the tank I place some taps to regulate the amount of water flowing through each pipe. In the picture they stand above the floor, but once glued they will hang under the tank. Pipes are 40mm in diameter. The total pump capacity is 19000 liters an hour (5000 US gallons), although some is lost because of the height to which the water is pumped.
At these points in the rear end of the tank, the water will flow back to the reservoir under the tank:
In the left side there is another pump under the tank for a waterfall at that side:
I hope the pictures help you to understand what I am doing - I feel my technical English is lacking a bit...
Questions, suggestions and criticism is very much appreciated. Some way this is quite an adventure as there are so few examples of this type of tank building (I fortunate enough to get the help of the man behind this tank, Hans Pietersma).
Any input is welcome!