
Hi everybody, I'm still pretty new to dendroboard. I don't keep DF's...yet ") ... but I am very much into all amphibians and reptiles, as well as plants and vivs.
... but I am very much into all amphibians and reptiles, as well as plants and vivs.
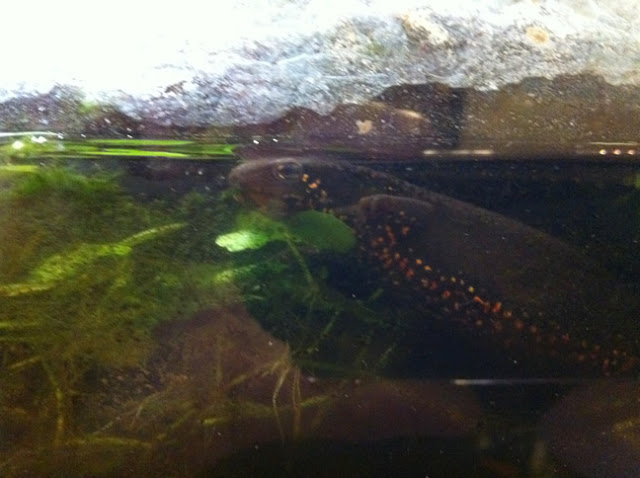
I'm building a new 29 G paludarium for my japanese firebelly newt and I thought even though it's not a DF viv you might be interested. This thread will be very detailed, step by step as I go...hope it isn't too detailed and boring. My hope is it will keep the pressure on me so I don't slack off too much. If you are interested, let's get started!
A few years ago a humongous tree fell on my parents house in a storm. My mom and I were about 15 feet away from where the tree came crashing through the roof and destroyed their kitchen among other things! They had a guy grind out the stump; there were some nice roots leftover so I grabbed them (this was years ago!) I stashed them in some bushes back then, planning to use them for a viv build, but never go to it.
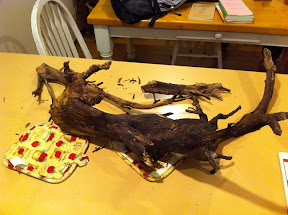
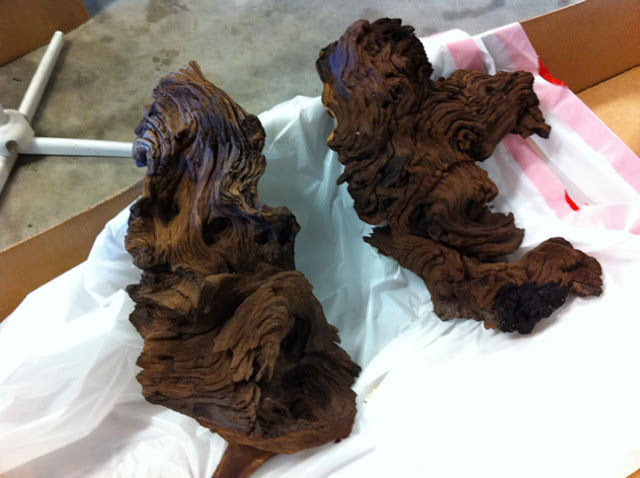
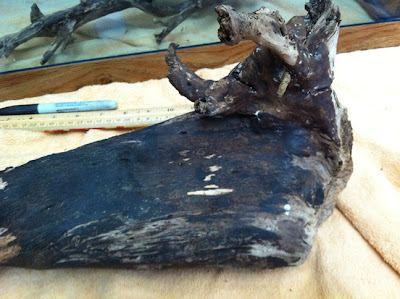
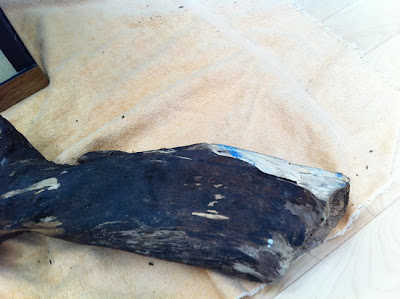
Fast forward to a few days ago, I went over there and found the roots still where I left them. I was shocked that they were still in pretty good condition. A few pieces had termite damage and rot, so I discarded them, but the rest looked ok. I scraped the outer layer of "bark" from the roots and brushed them thorughly with a wire brush. Next I baked them in the oven at 250 degrees for an hour, then 275 for a half hour, then 300 for half hour. I raised the temp slowly so I could gauge the effects of the heat and make sure not to damage the wood. I think the process went well. Here are the roots after baking.
![Image]()
I am sure that this wood will rot at some point, but I'm not worried about it. It will give it more character and grow more moss! (I know I am probably crazy)
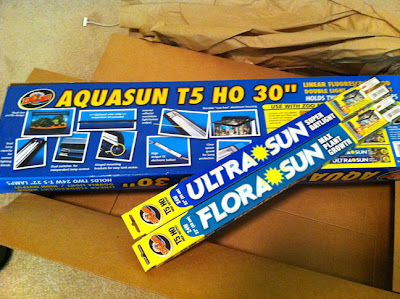
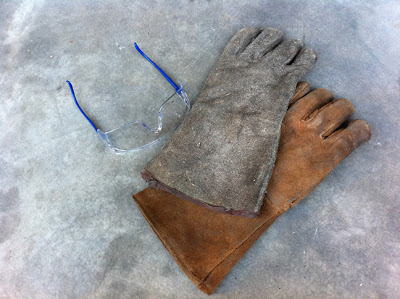
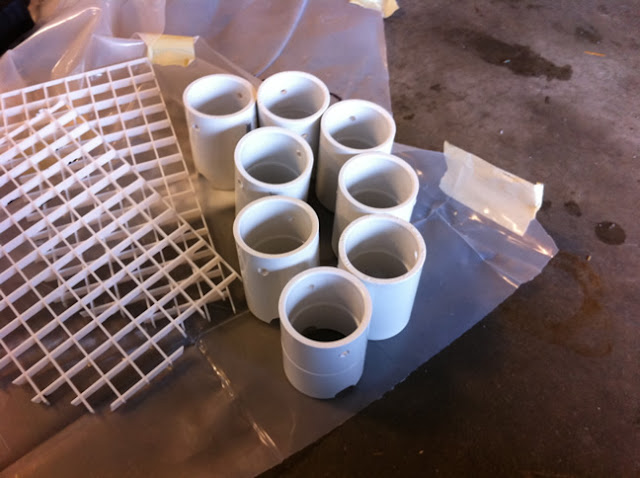
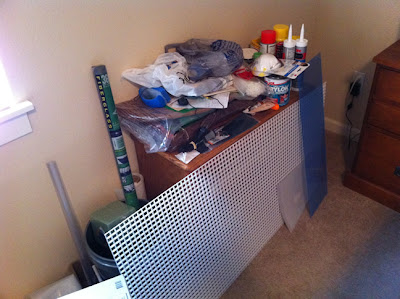
After scrounging up supplies and materials from years of aquariums and terrariums, as well as multiple trips to lowes and PetSmart, I have the intimidating heap of stuff shown below
![Image]()
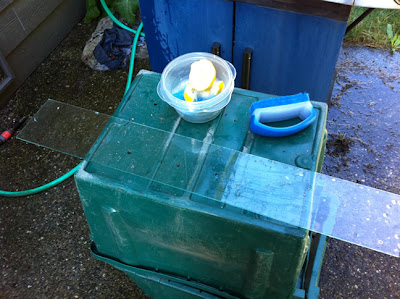
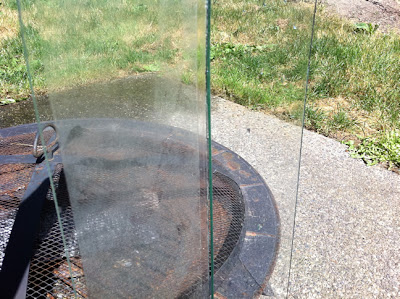
I had a 29 G tank sitting empty at my parents house literally for YEARS. The tank was sitting by the door next to the kitchen and the top glass lid had accumulated a thin film of cooking oil from all the times I made fried food and it was splattering all over the place. Below is the cleaning process to restore the glass lid. I used a concoction of vinegar, fresh squeezed lemon, and a squirt of dawn dish soap. After a bit of scrubbing, you can see a comparison of one dirty and one clean.
![Image]()
![Image]()
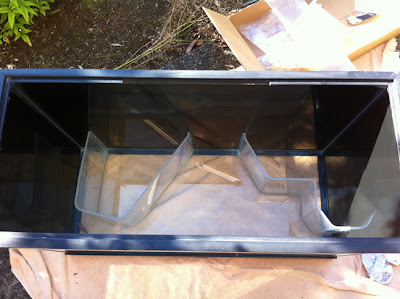
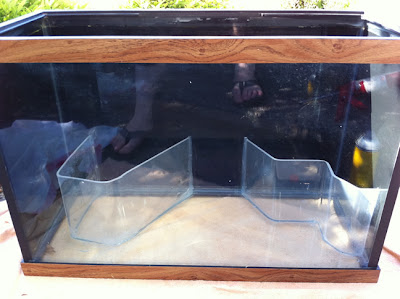
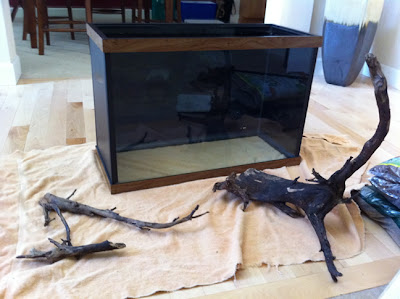
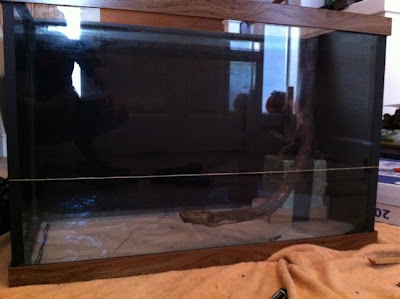
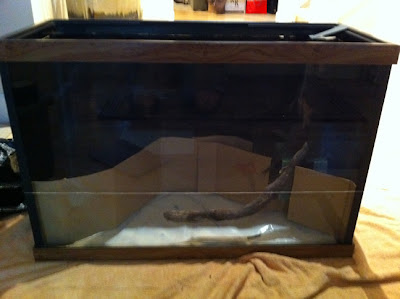
The aquarium tank was cleaned the same way as the glass lid. Years ago I painted the outside of the sides and back with some kind of waterproof black paint. I think it was to reduce the sunlight from the window to inhibit extreme algae growth. Below you can see the cleaned tank and the disinfected roots.
![Image]()
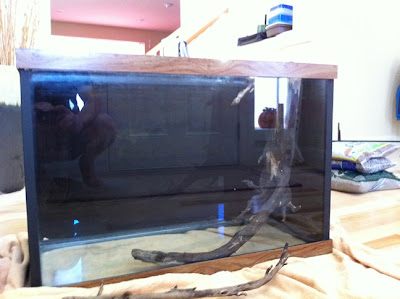
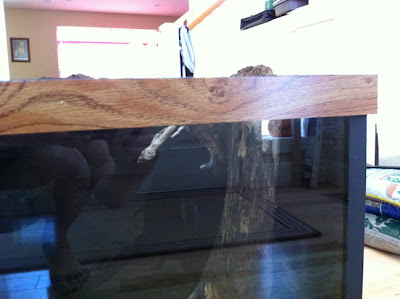
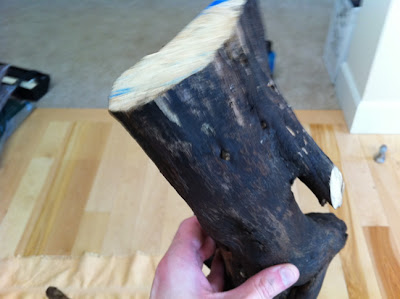
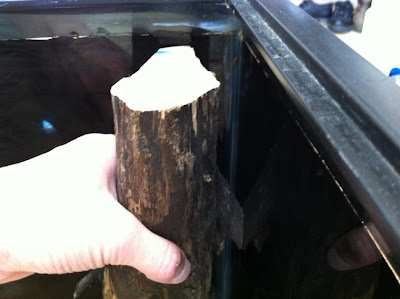
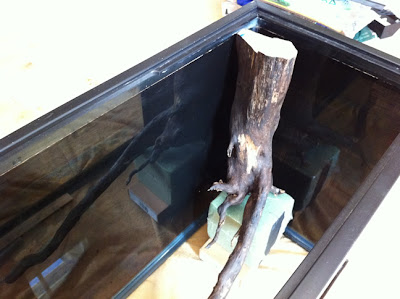
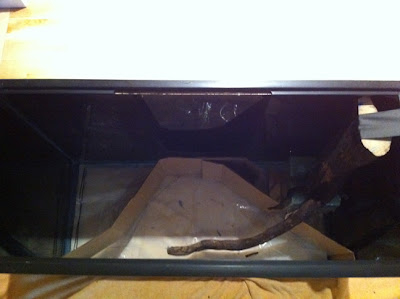
I have a relatively clear plan in my mind of how I am going to structure the paludarium layout, but I still need to "brainstorm and experiment" as I go. This was the first time I started trying to fit the roots into the tank. Obviously the chunky piece is a bit too big to fit as you can see below. So I needed to do some trimming; I cut a few of the long bottom pieces that were sticking out in opposite directions, then I made some flat cuts to fit the root against the glass in the corner. I also had to remove quite a bit of the top to fit it vertically where I needed it to be.
![Image]()
![Image]()
![Image]()
![Image]()
![Image]()
![Image]()
![Image]()
Again, experimenting with placement options. I will probably break off some of the long lower root, as I don't like how it looks extending so far. I think I will seal the flat top of the chunk with some silicone to slow the rotting process.
![Image]()
![Image]()
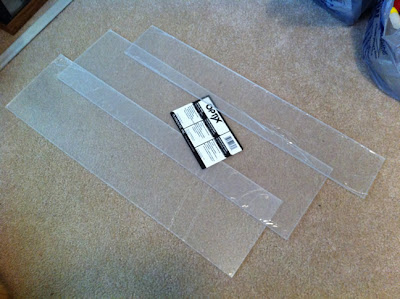
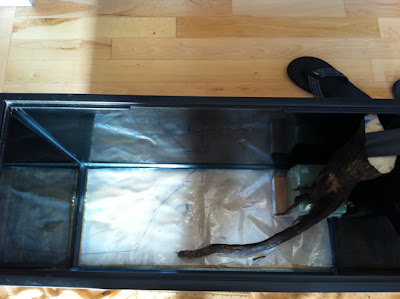
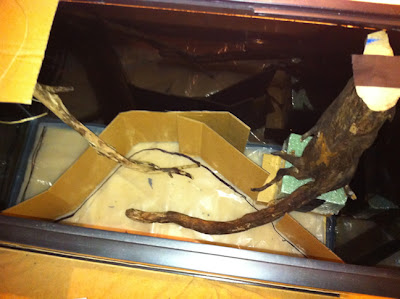
Next step was to start planning the general location, size, and shape of the land areas. I put some painters plastic into the tank and sketched some rough shapes with a marker.
![Image]()
I also added some string across the front to visualize the water level
![Image]()
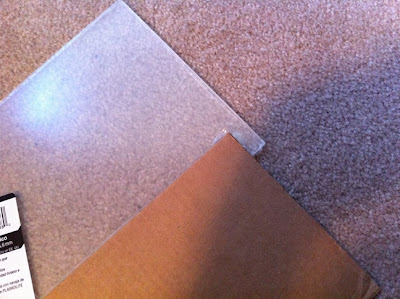
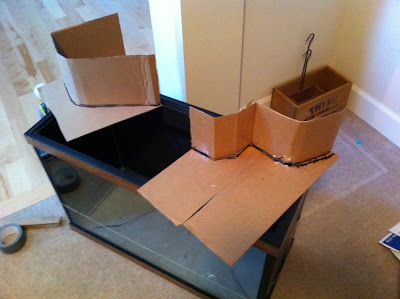
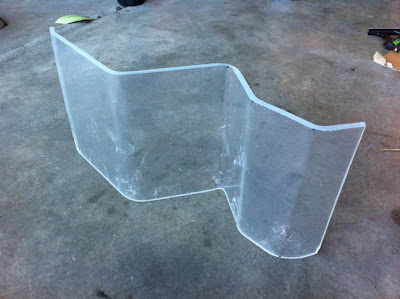
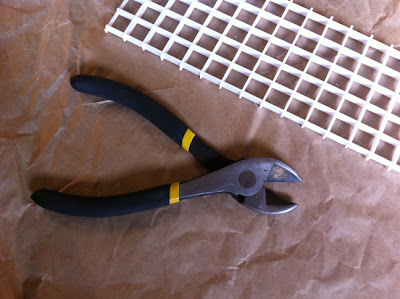
And then began a prototype out of cardboard, again for visualization. When I decide on a layout I will swap the cardboard out for plastic "egg crate" (white plastic with square grid from the lighting department at lowes)
![Image]()
![Image]()
Experimenting with a few other root pieces. Not sure on placement yet. When I am ready I will do a bit of silicone to attach the roots roughly and then foam up the back with GreatStuff and encase the top/back part of the roots chunks.
![Image]()
So that's where I'm at so far. I am super busy with life, but this is so fun I will try to fit in as much as I can during the weekdays if possible. If you actually read this far, congrats on toughing it out
... but I am very much into all amphibians and reptiles, as well as plants and vivs.I'm building a new 29 G paludarium for my japanese firebelly newt and I thought even though it's not a DF viv you might be interested. This thread will be very detailed, step by step as I go...hope it isn't too detailed and boring. My hope is it will keep the pressure on me so I don't slack off too much.
If you are interested, let's get started!A few years ago a humongous tree fell on my parents house in a storm. My mom and I were about 15 feet away from where the tree came crashing through the roof and destroyed their kitchen among other things! They had a guy grind out the stump; there were some nice roots leftover so I grabbed them (this was years ago!) I stashed them in some bushes back then, planning to use them for a viv build, but never go to it.
Fast forward to a few days ago, I went over there and found the roots still where I left them. I was shocked that they were still in pretty good condition. A few pieces had termite damage and rot, so I discarded them, but the rest looked ok. I scraped the outer layer of "bark" from the roots and brushed them thorughly with a wire brush. Next I baked them in the oven at 250 degrees for an hour, then 275 for a half hour, then 300 for half hour. I raised the temp slowly so I could gauge the effects of the heat and make sure not to damage the wood. I think the process went well. Here are the roots after baking.

I am sure that this wood will rot at some point, but I'm not worried about it. It will give it more character and grow more moss! (I know I am probably crazy)
After scrounging up supplies and materials from years of aquariums and terrariums, as well as multiple trips to lowes and PetSmart, I have the intimidating heap of stuff shown below
I had a 29 G tank sitting empty at my parents house literally for YEARS. The tank was sitting by the door next to the kitchen and the top glass lid had accumulated a thin film of cooking oil from all the times I made fried food and it was splattering all over the place. Below is the cleaning process to restore the glass lid. I used a concoction of vinegar, fresh squeezed lemon, and a squirt of dawn dish soap. After a bit of scrubbing, you can see a comparison of one dirty and one clean.
The aquarium tank was cleaned the same way as the glass lid. Years ago I painted the outside of the sides and back with some kind of waterproof black paint. I think it was to reduce the sunlight from the window to inhibit extreme algae growth. Below you can see the cleaned tank and the disinfected roots.
I have a relatively clear plan in my mind of how I am going to structure the paludarium layout, but I still need to "brainstorm and experiment" as I go. This was the first time I started trying to fit the roots into the tank. Obviously the chunky piece is a bit too big to fit as you can see below. So I needed to do some trimming; I cut a few of the long bottom pieces that were sticking out in opposite directions, then I made some flat cuts to fit the root against the glass in the corner. I also had to remove quite a bit of the top to fit it vertically where I needed it to be.

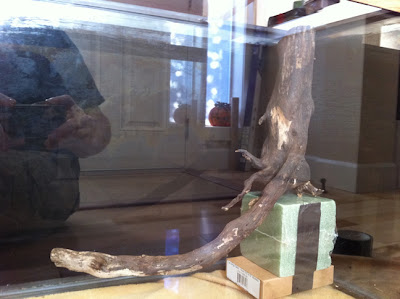
Again, experimenting with placement options. I will probably break off some of the long lower root, as I don't like how it looks extending so far. I think I will seal the flat top of the chunk with some silicone to slow the rotting process.
Next step was to start planning the general location, size, and shape of the land areas. I put some painters plastic into the tank and sketched some rough shapes with a marker.
I also added some string across the front to visualize the water level
And then began a prototype out of cardboard, again for visualization. When I decide on a layout I will swap the cardboard out for plastic "egg crate" (white plastic with square grid from the lighting department at lowes)
Experimenting with a few other root pieces. Not sure on placement yet. When I am ready I will do a bit of silicone to attach the roots roughly and then foam up the back with GreatStuff and encase the top/back part of the roots chunks.
So that's where I'm at so far. I am super busy with life, but this is so fun I will try to fit in as much as I can during the weekdays if possible. If you actually read this far, congrats on toughing it out