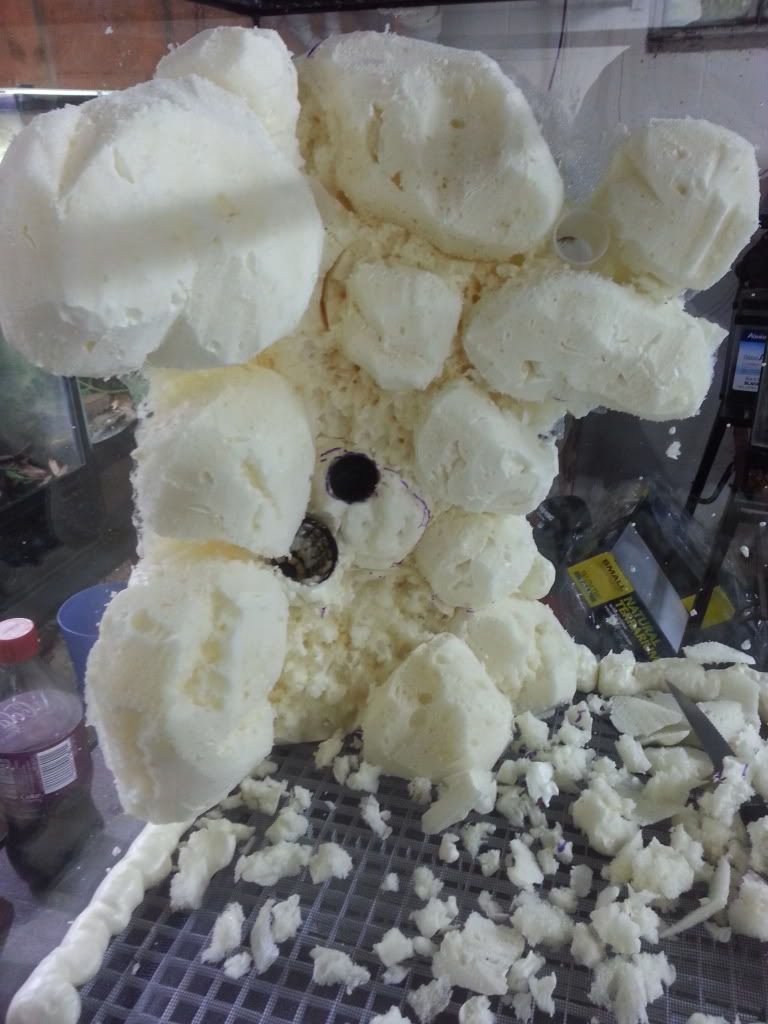
Building rocks with this product is very similar to other methods. I like to use pink or blue sheets of insulation foam siliconed together. I prefer this foam over great stuff because of how dense and solid it is, allowing for a much greater level of carving detail, which will be reflected in the final product, also you can apply the epoxy in thinner layers and still achieve total coverage. I then add zinc oxide pigments and a couple handfuls of play sand (for rocky texture) to the mixed epoxy and apply it to the foam structure in about a 1/8" thick layer and let it sit for about half an hour. At this point the epoxy has become stiffer and more putty like and I can go back in and add more details with various tools or stamps. After about 24 hours or whenever the piece has fully cured I paint it with several coats of watered down acrylic paint. Here are some pictures of a build I did a couple years ago featuring epoxy rocks attached to a tree fern background. This is one of my favorite background combinations.
![Image]()
years (and several re-plants) later:
Here is a background that is totally epoxy. I made the rocks individually, put them in position in the back of the tank and filled in around them with great stuff. I them carved down the great stuff and covered it with a layer of epoxy I had tinted a tan color, as it cured I added sand and gravel to give it the appearance of an eroded rocky bank.
Grown in:
As you can see plants and moss do grow on this stuff depending on what textures you have created with it, but growth will never be as fast/lush as with organic backgrounds. I have also created tree buttresses with #307 that have turned out ok but that I have never been fully satisfied with, I feel the E-Z sculpt would be a much better product for trees/roots/branches etc. I am about to begin building a large plywood tank that will a fully epoxy background, rock work with great stuff in between that will be covered in #307 tinted dark brown/black with tree fern fiber on top. I also plan on creating some large liana vines out of pvc pipes and either #307 or E-Z sculpt, I have yet to decide.


")


